
IKEA hack: wardrobe cabinet makeover

If you're like us and have embraced small space living, then you already know– creative use of space is the name of the game. Ya gotta maximize every single square foot, because there just aren't that many of em.
That's where our heads were at when we decided to convert our old entryway into a home office (yes, you read that right... more on that project coming soon!).
This would be our most out-of-the-box re-purposing of space to date. But sometimes a creative solution to one challenge can actually CAUSE a few new practical challenges.
For instance, now that we enter the home through the kitchen area instead of a dedicated "entry" area...
...Where do we hang coats?
...What will be our new "putting things place"?
...How do we keep it from getting all cluttery?
I started shopping around for wardrobe cabinets, but quickly learned how EXPENSIVE they are. As much as I LOVED a piece I found at Anthropologie, that wasn't the price point in our budget at that moment.
Before long, as is usually the case, I caught the itch to just do it myself.
I didn't want to start from scratch completely, so an IKEA hack was the perfect path forward– A great starting piece to work with, at an affordable price, that we could customize.
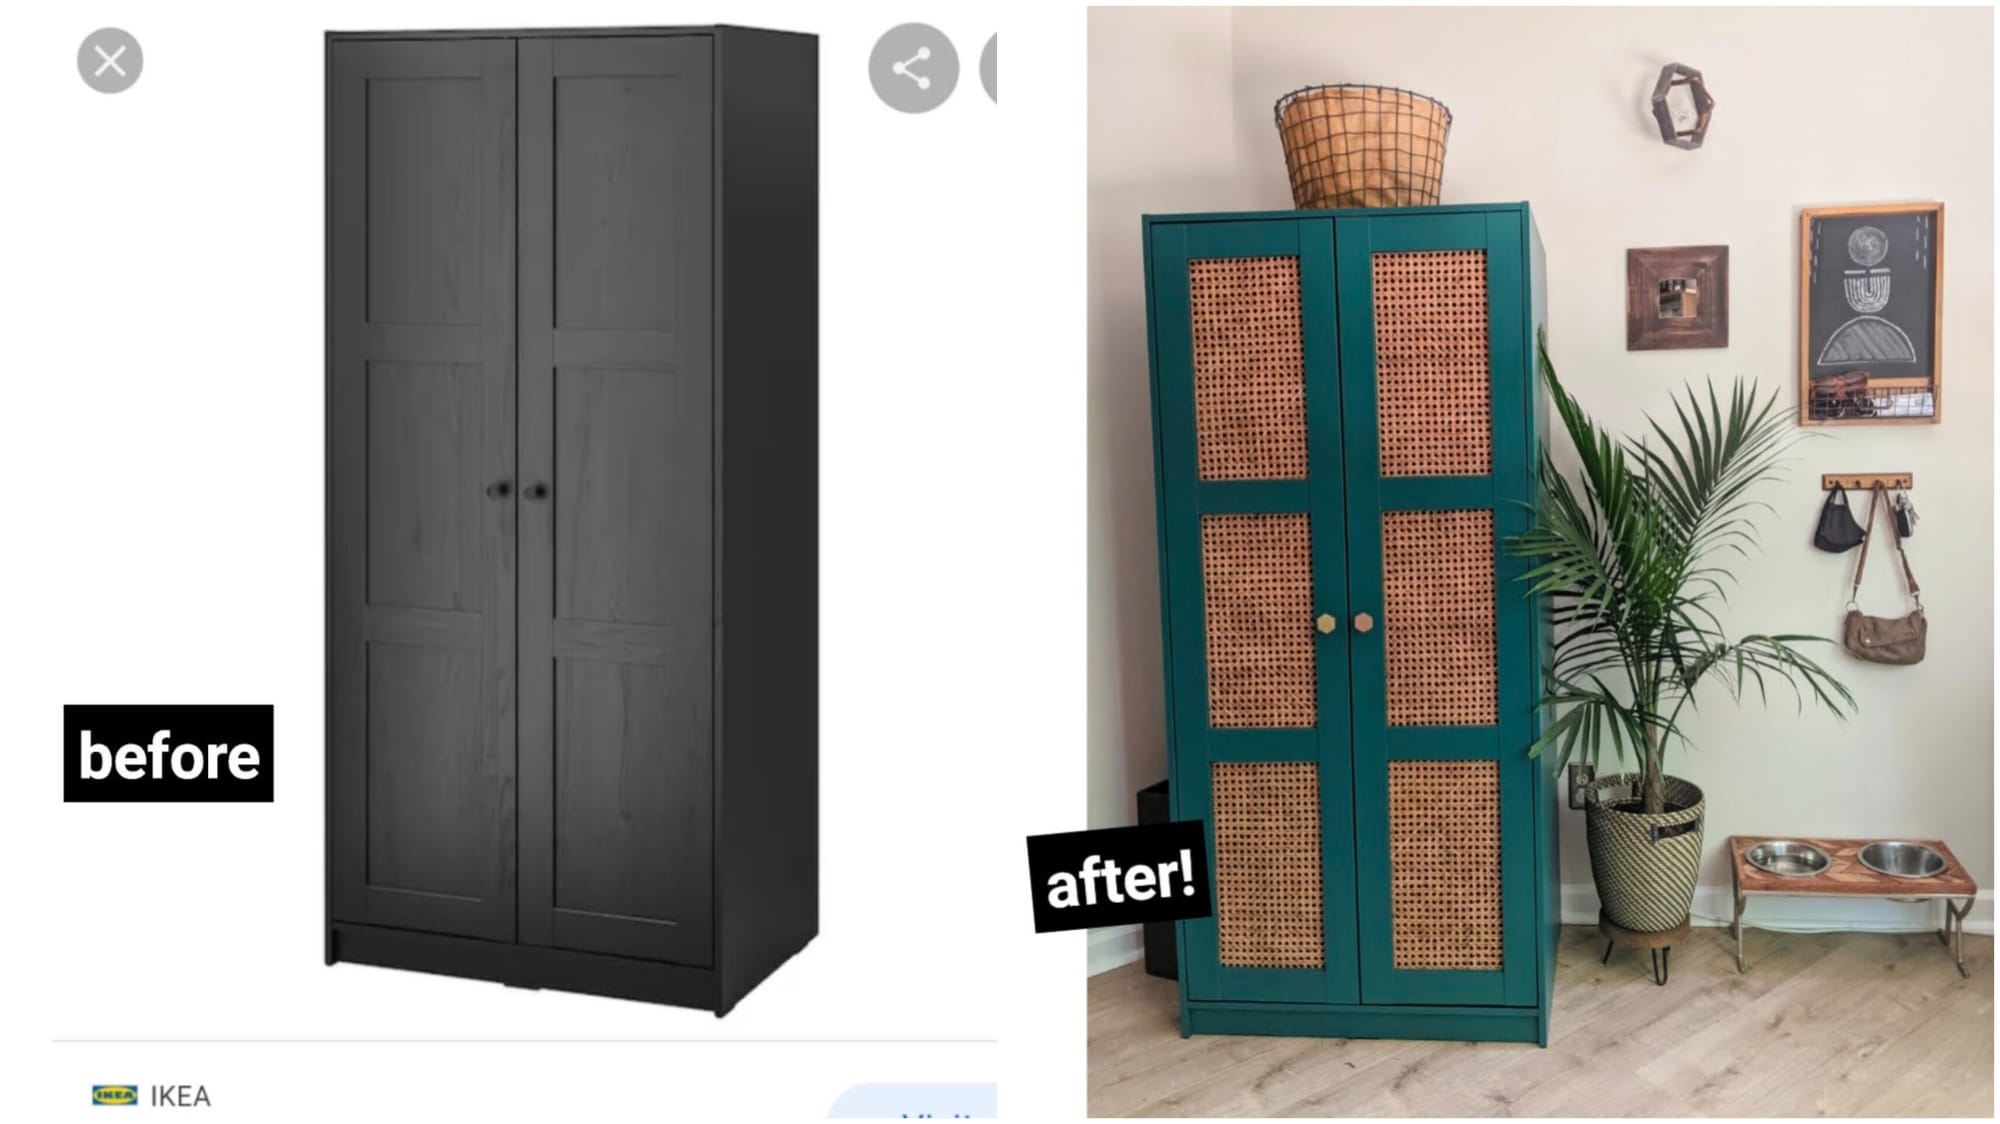
I found the "Rakkestad" for under $150. The paneling made it perfect for what I had in mind.
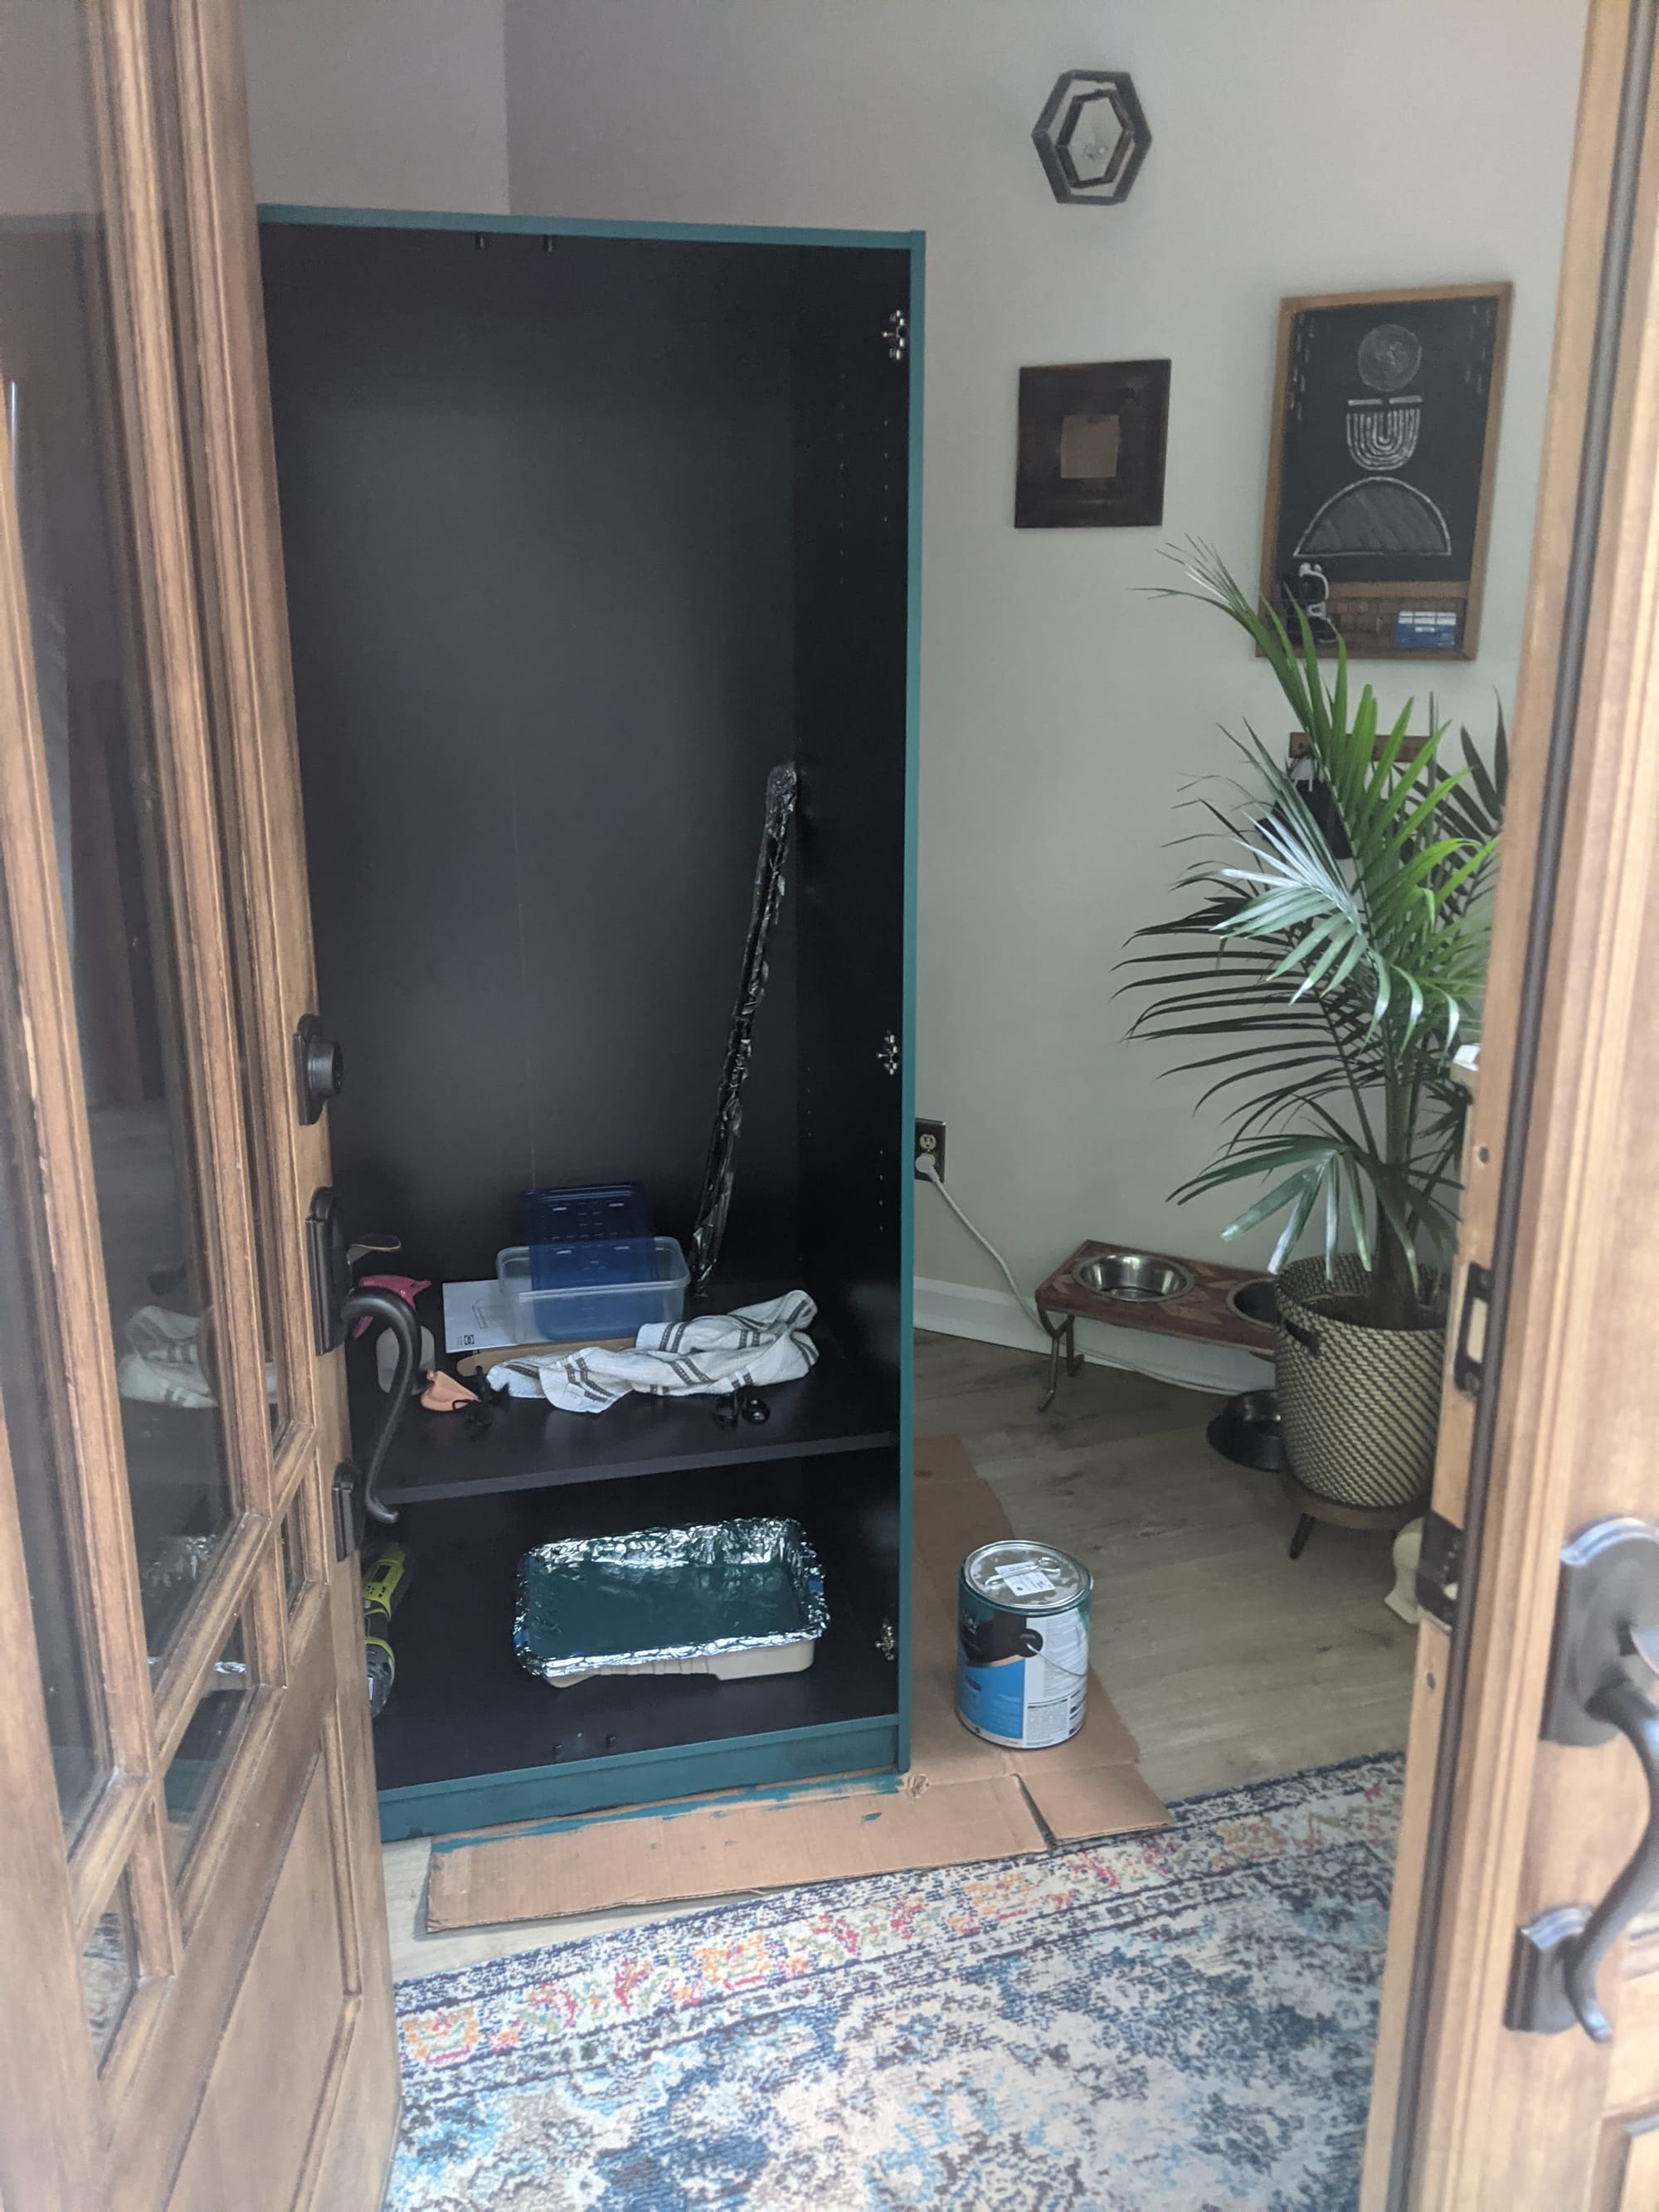
I took it apart and got to work painting it. I sanded it lightly by hand (someone less lazy than me would have probably sanded it more and gotten better results), then did 2 coats with a foam roller.
One weirdly important tip I learned– The roller type matters!! Make sure you pick the one for very smooth surfaces, or for cabinets specifically (like this one).
Since this is the B Plus life, and we're not going for A's around here, I will admit we used regular ol' wall paint on this cabinet, and it worked... pretty well.
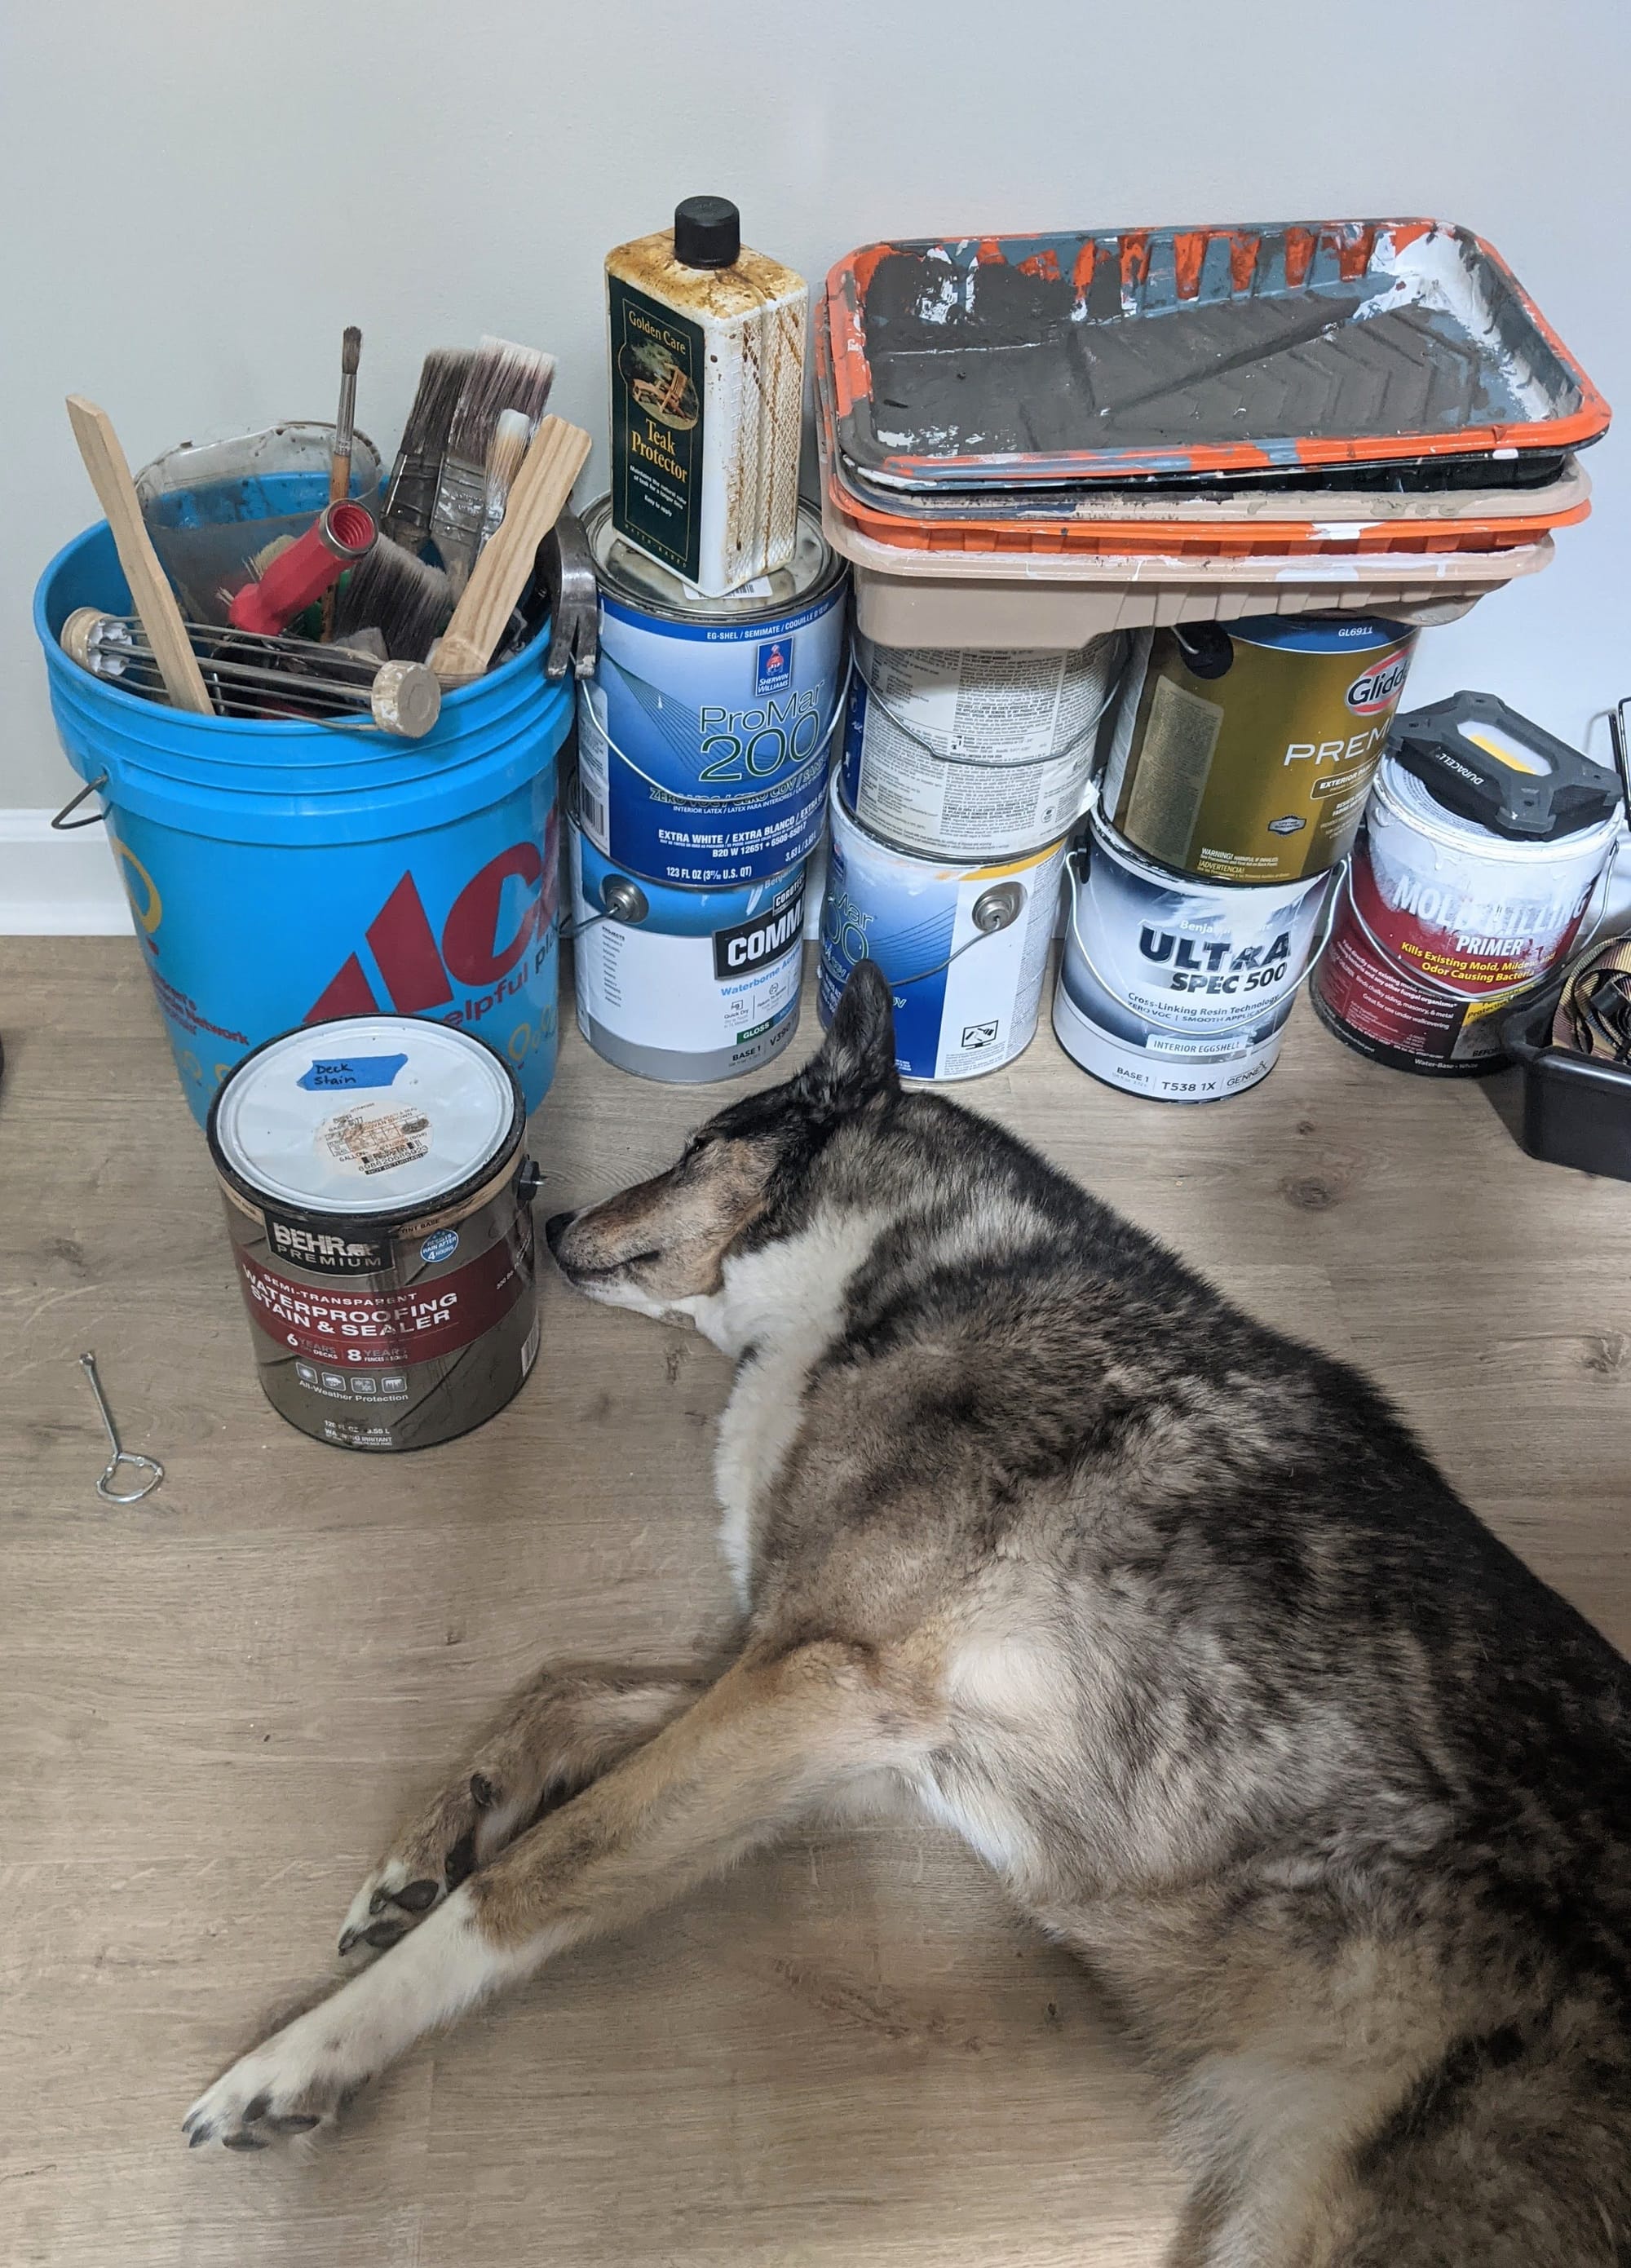
Ari was very helpful as I searched through the stash to dig out the right paint can :)
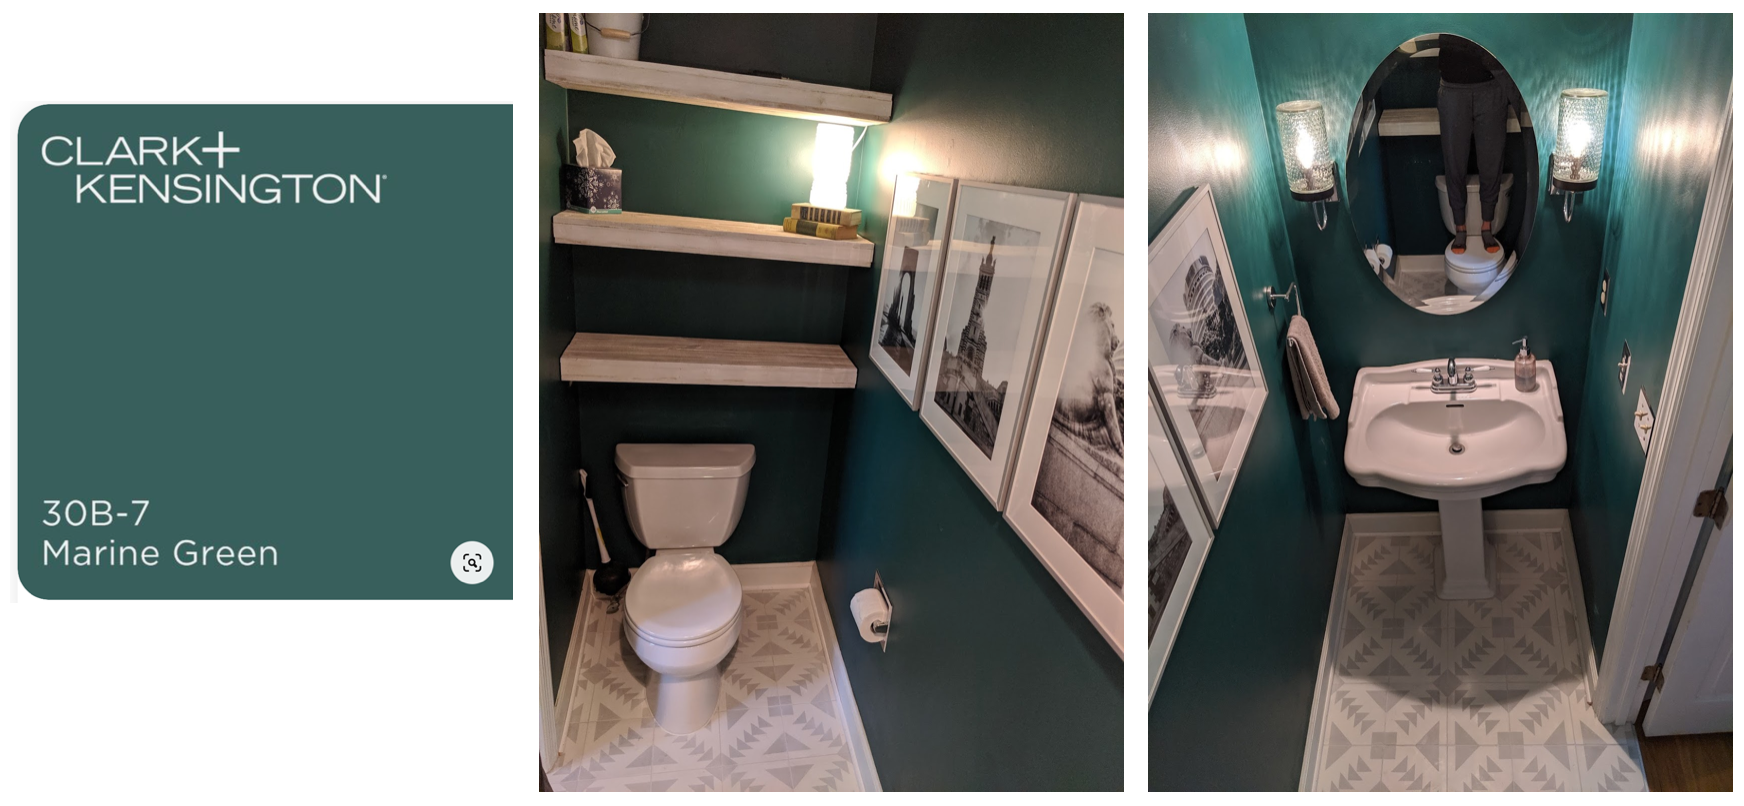
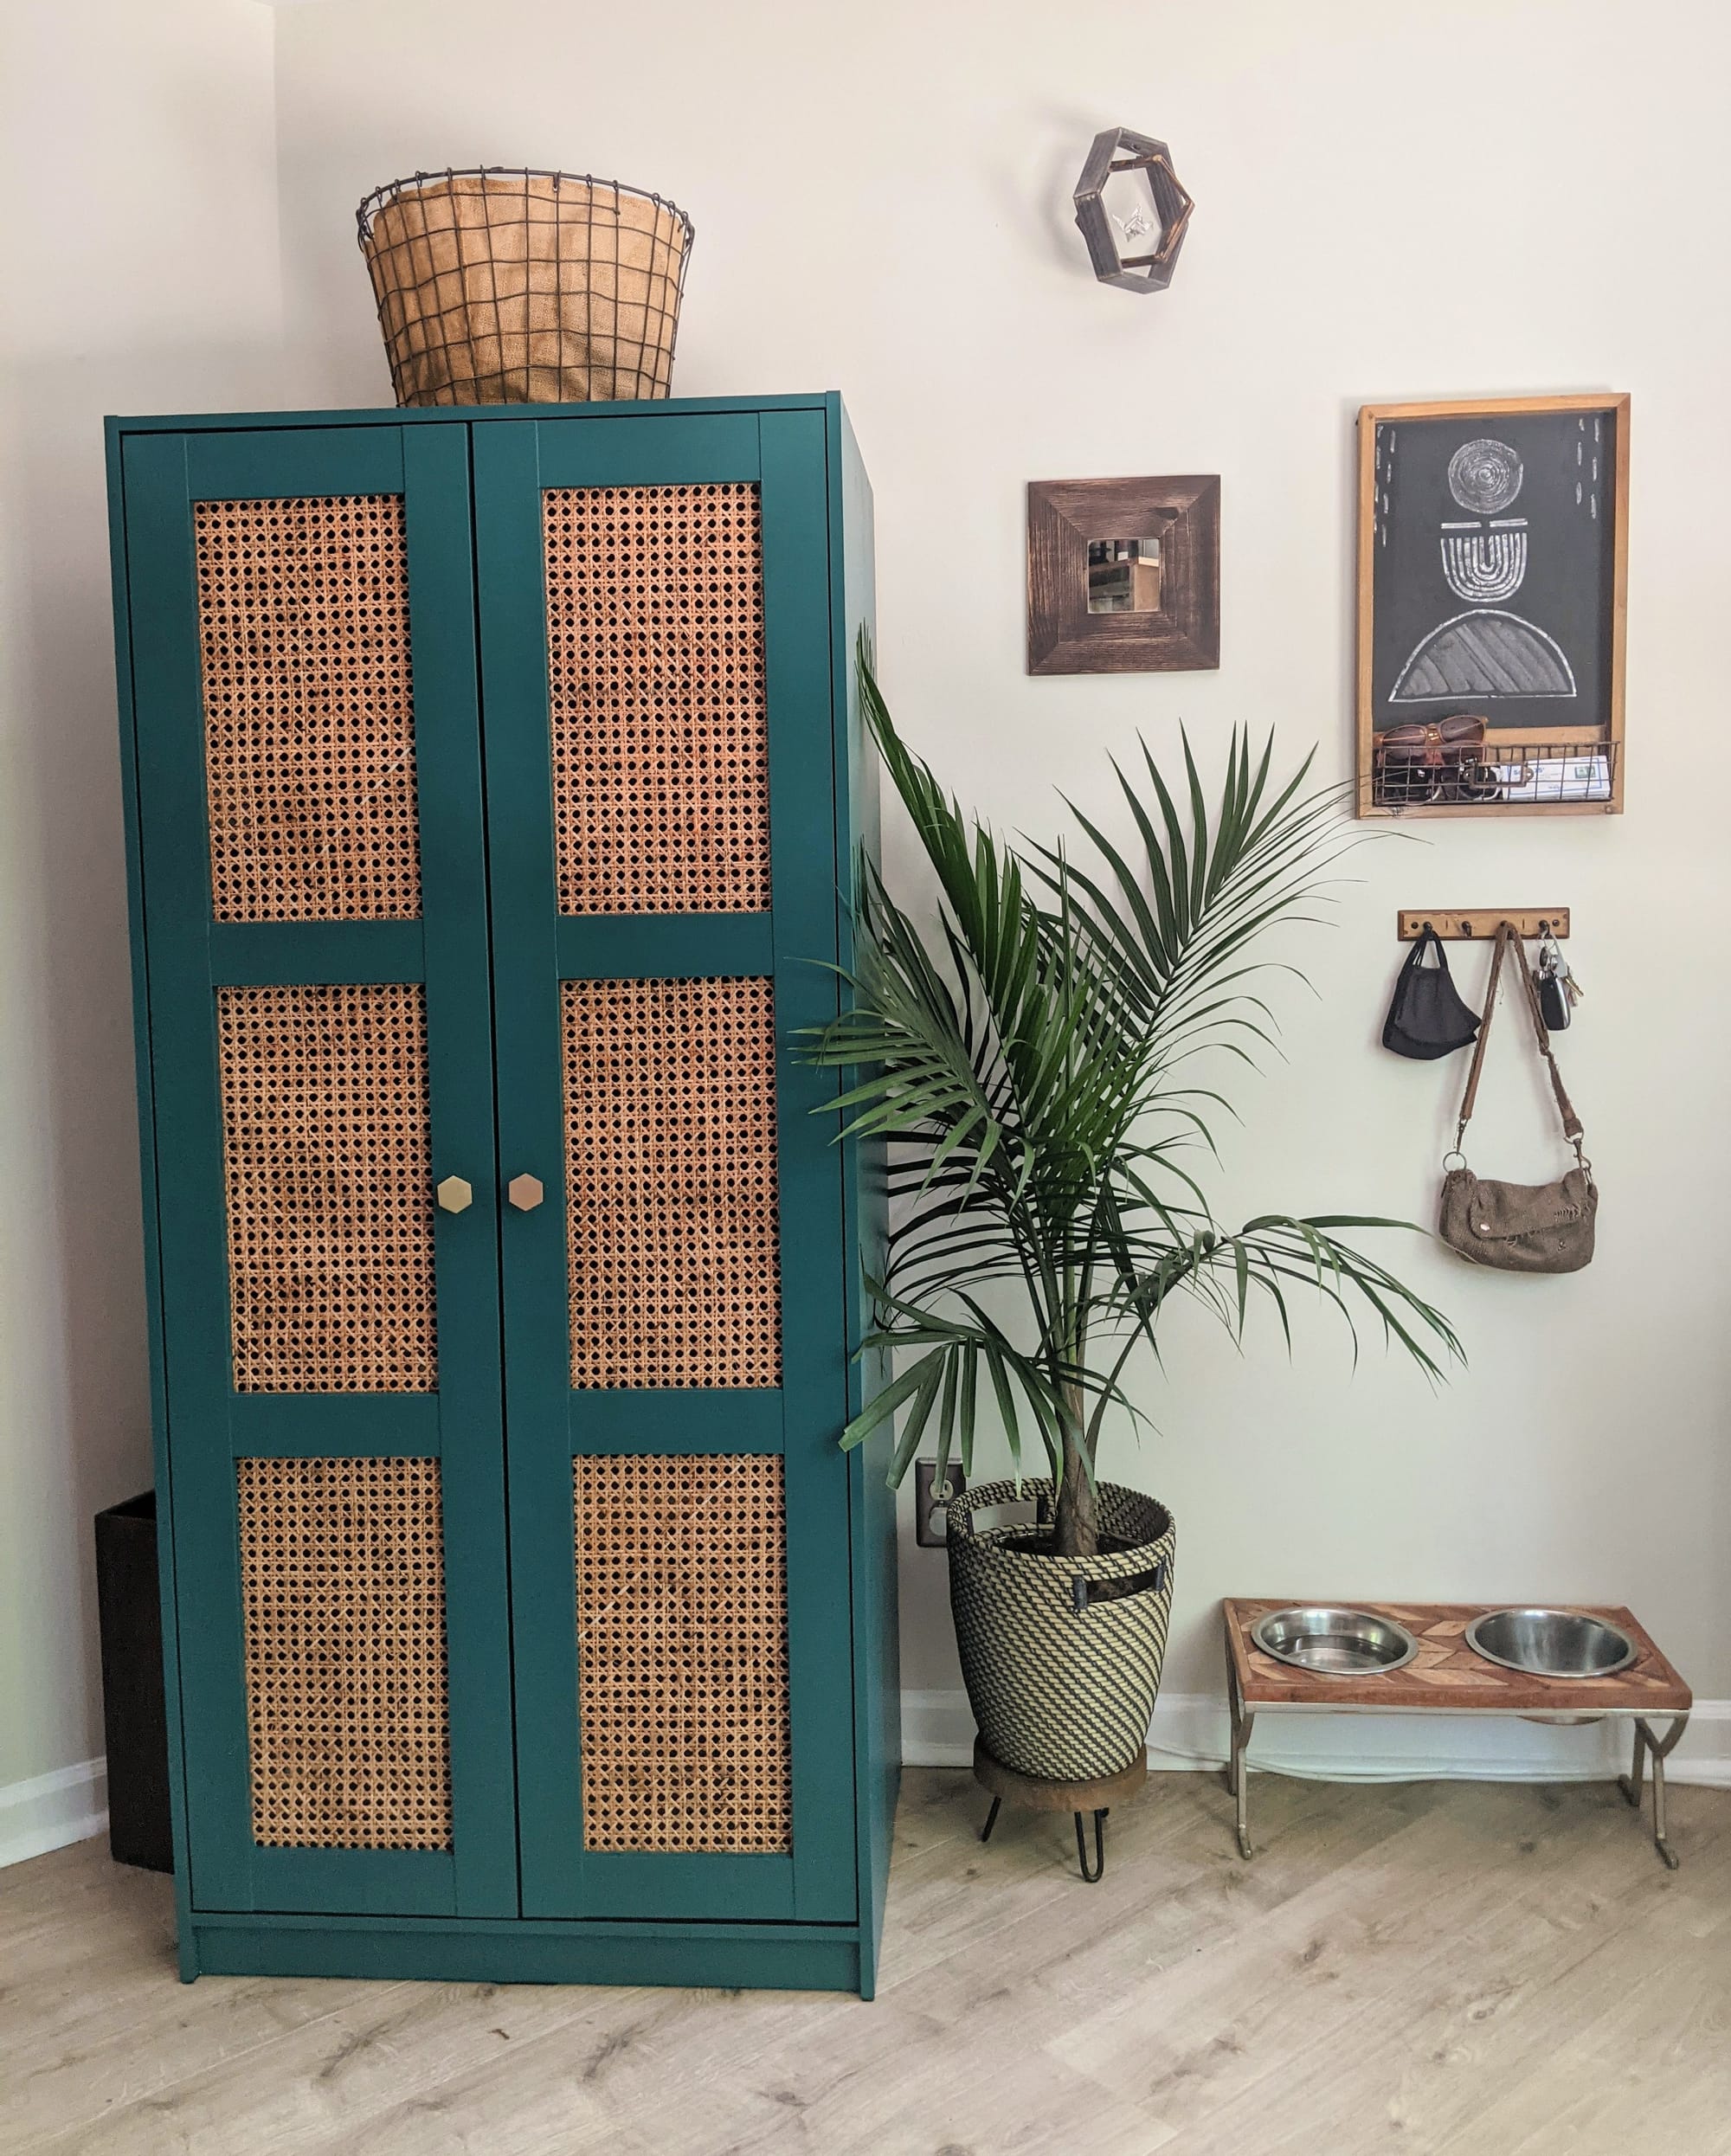
I already had the paint on hand, which made this even more of a low cost project. We had recently used "Marine Green" by Clark + Kensington from Ace Hardware to redo our half bath. I wanted this wardrobe cabinet to be a statement piece, so the bold color was perfect.
I did 2 coats of color, plus 2 clear coats afterwards to protect it since wall paint chips off of furniture pretty easily. The clear coats help it last longer, so don't skip that step!
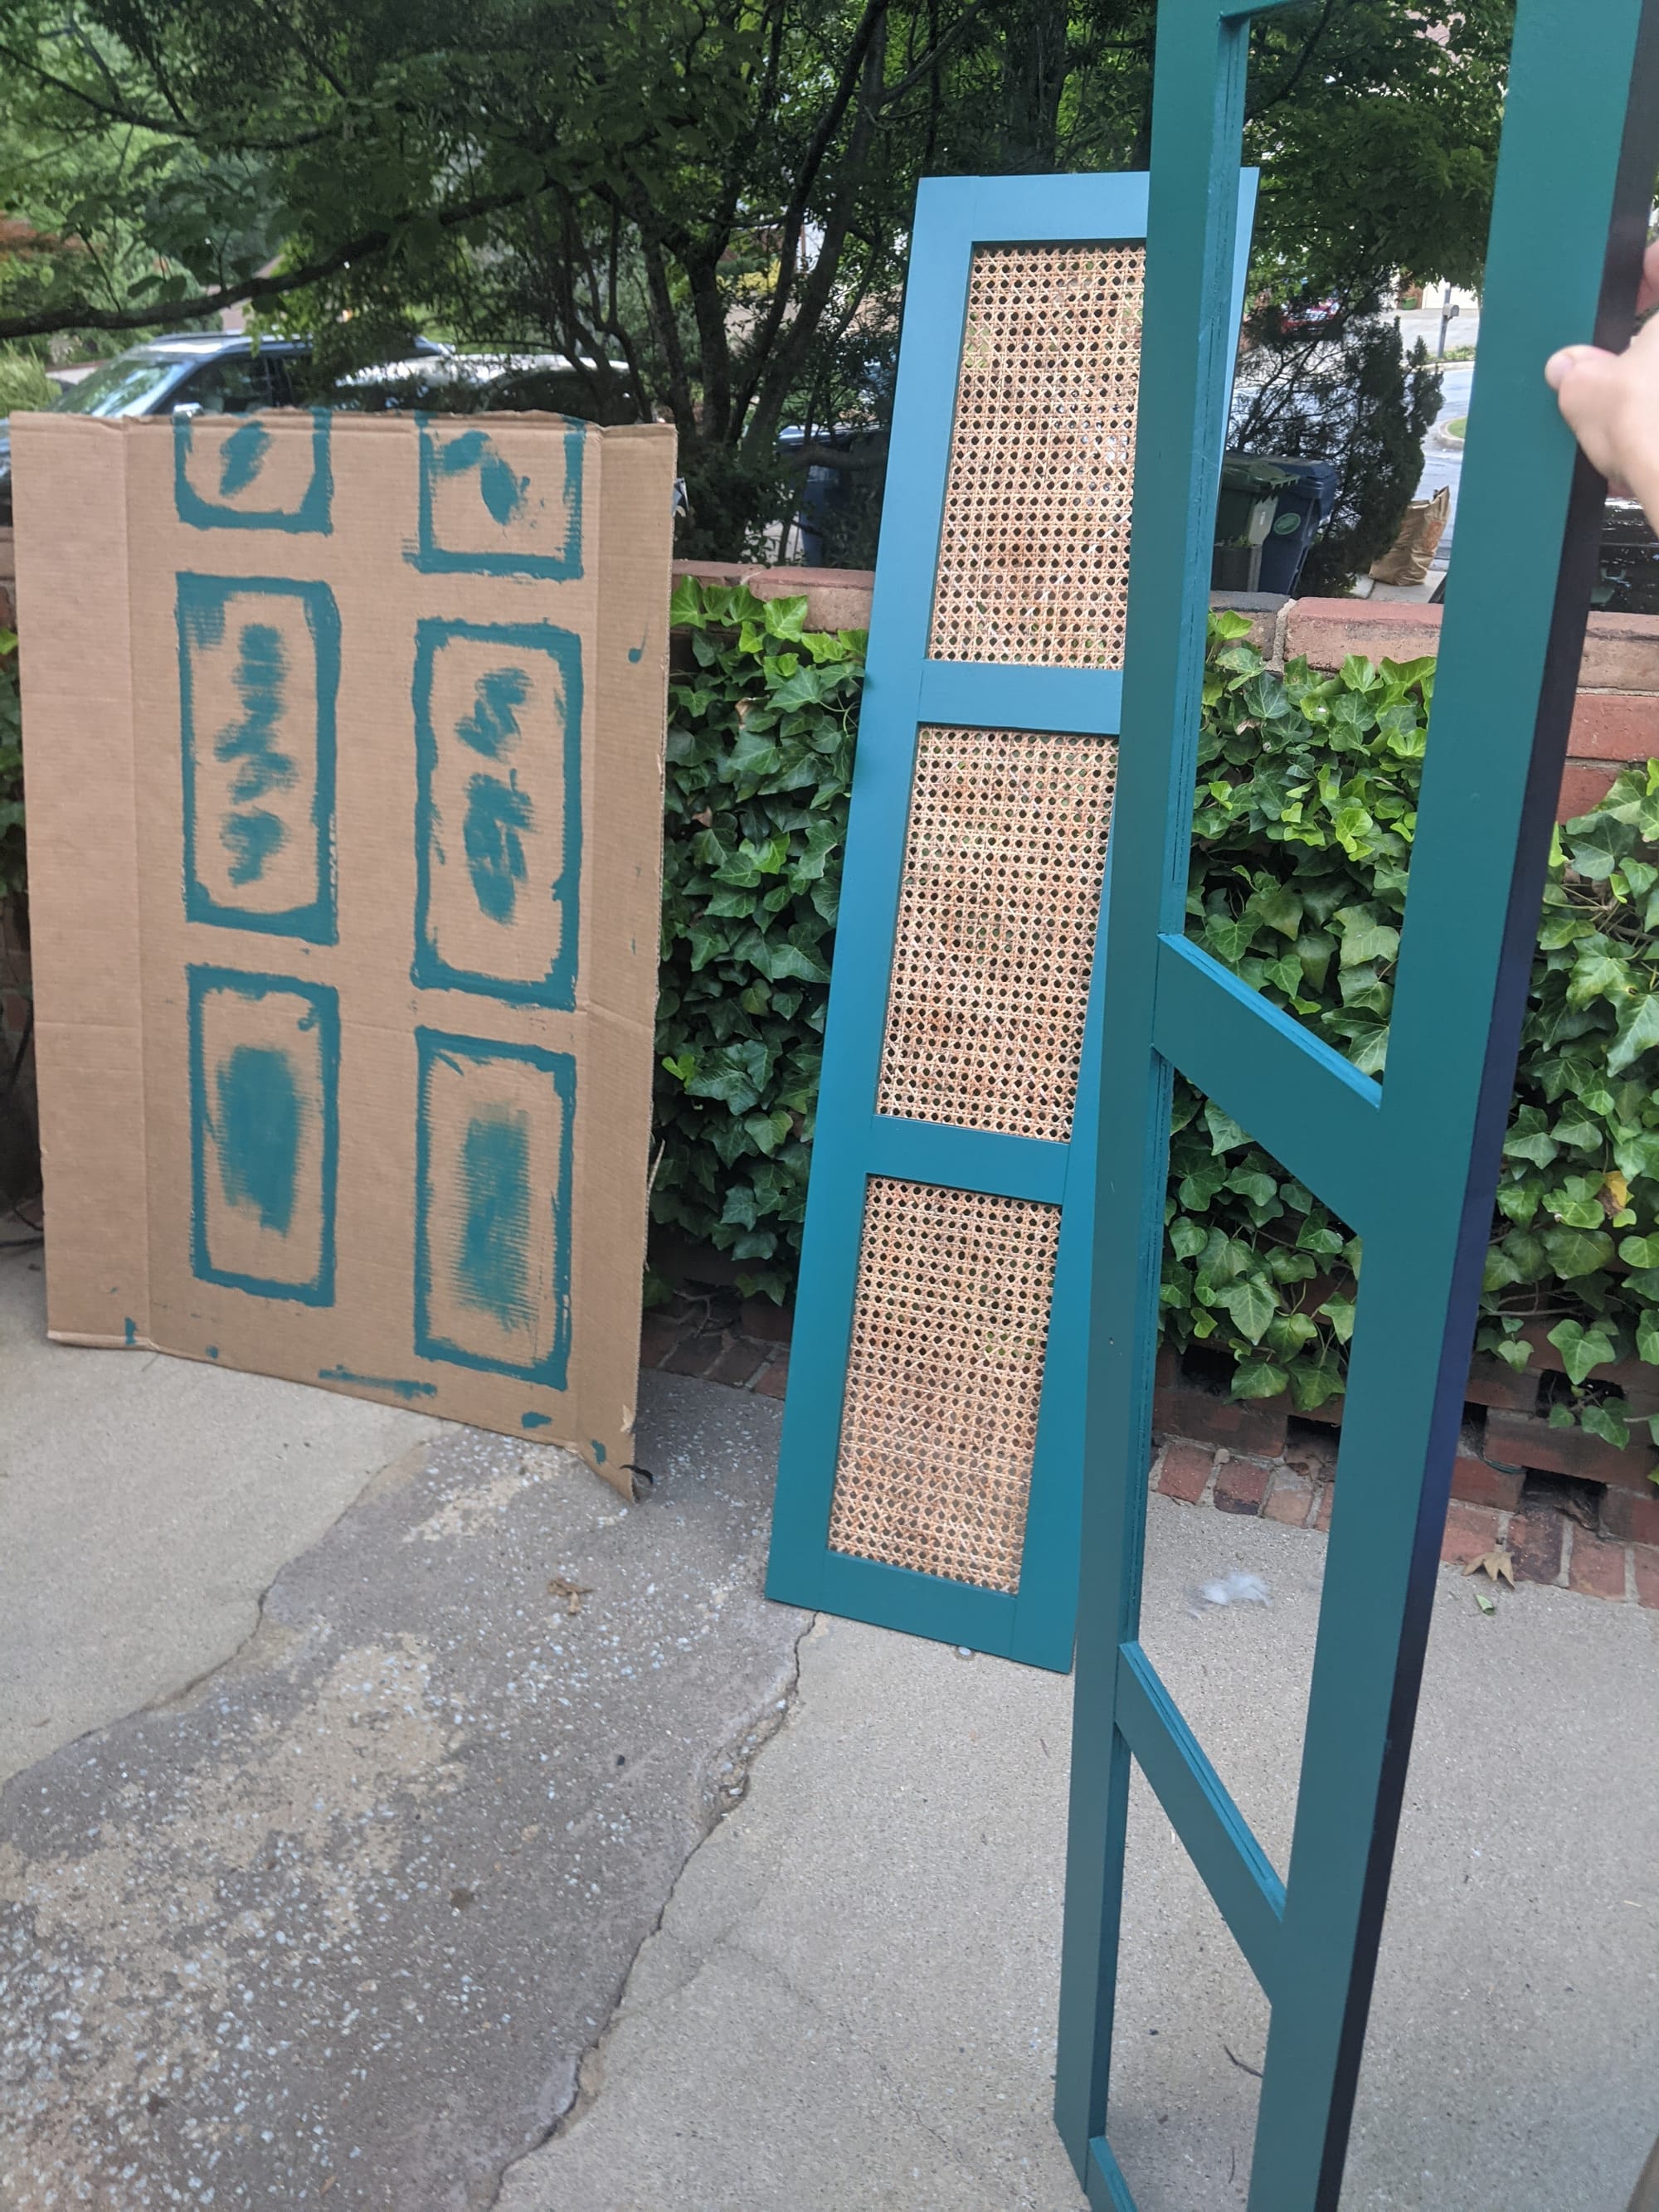
Next, we worked on customizing the doors.
Dave cut the particle board panels out with a jigsaw so I could replace them with cane. After he was done cutting, the frame was left intact but with inner panels removed. I ordered a roll of cane from Amazon to fill them in.
A good pair of scissors is your friend when working with these cane panels! They're not hard to cut, but having decent scissors really goes a long way to save your hands when you're cutting this much.
Once they were cut to size, I used a staplegun to staple the cane panels to the backs of the doors within each frame.
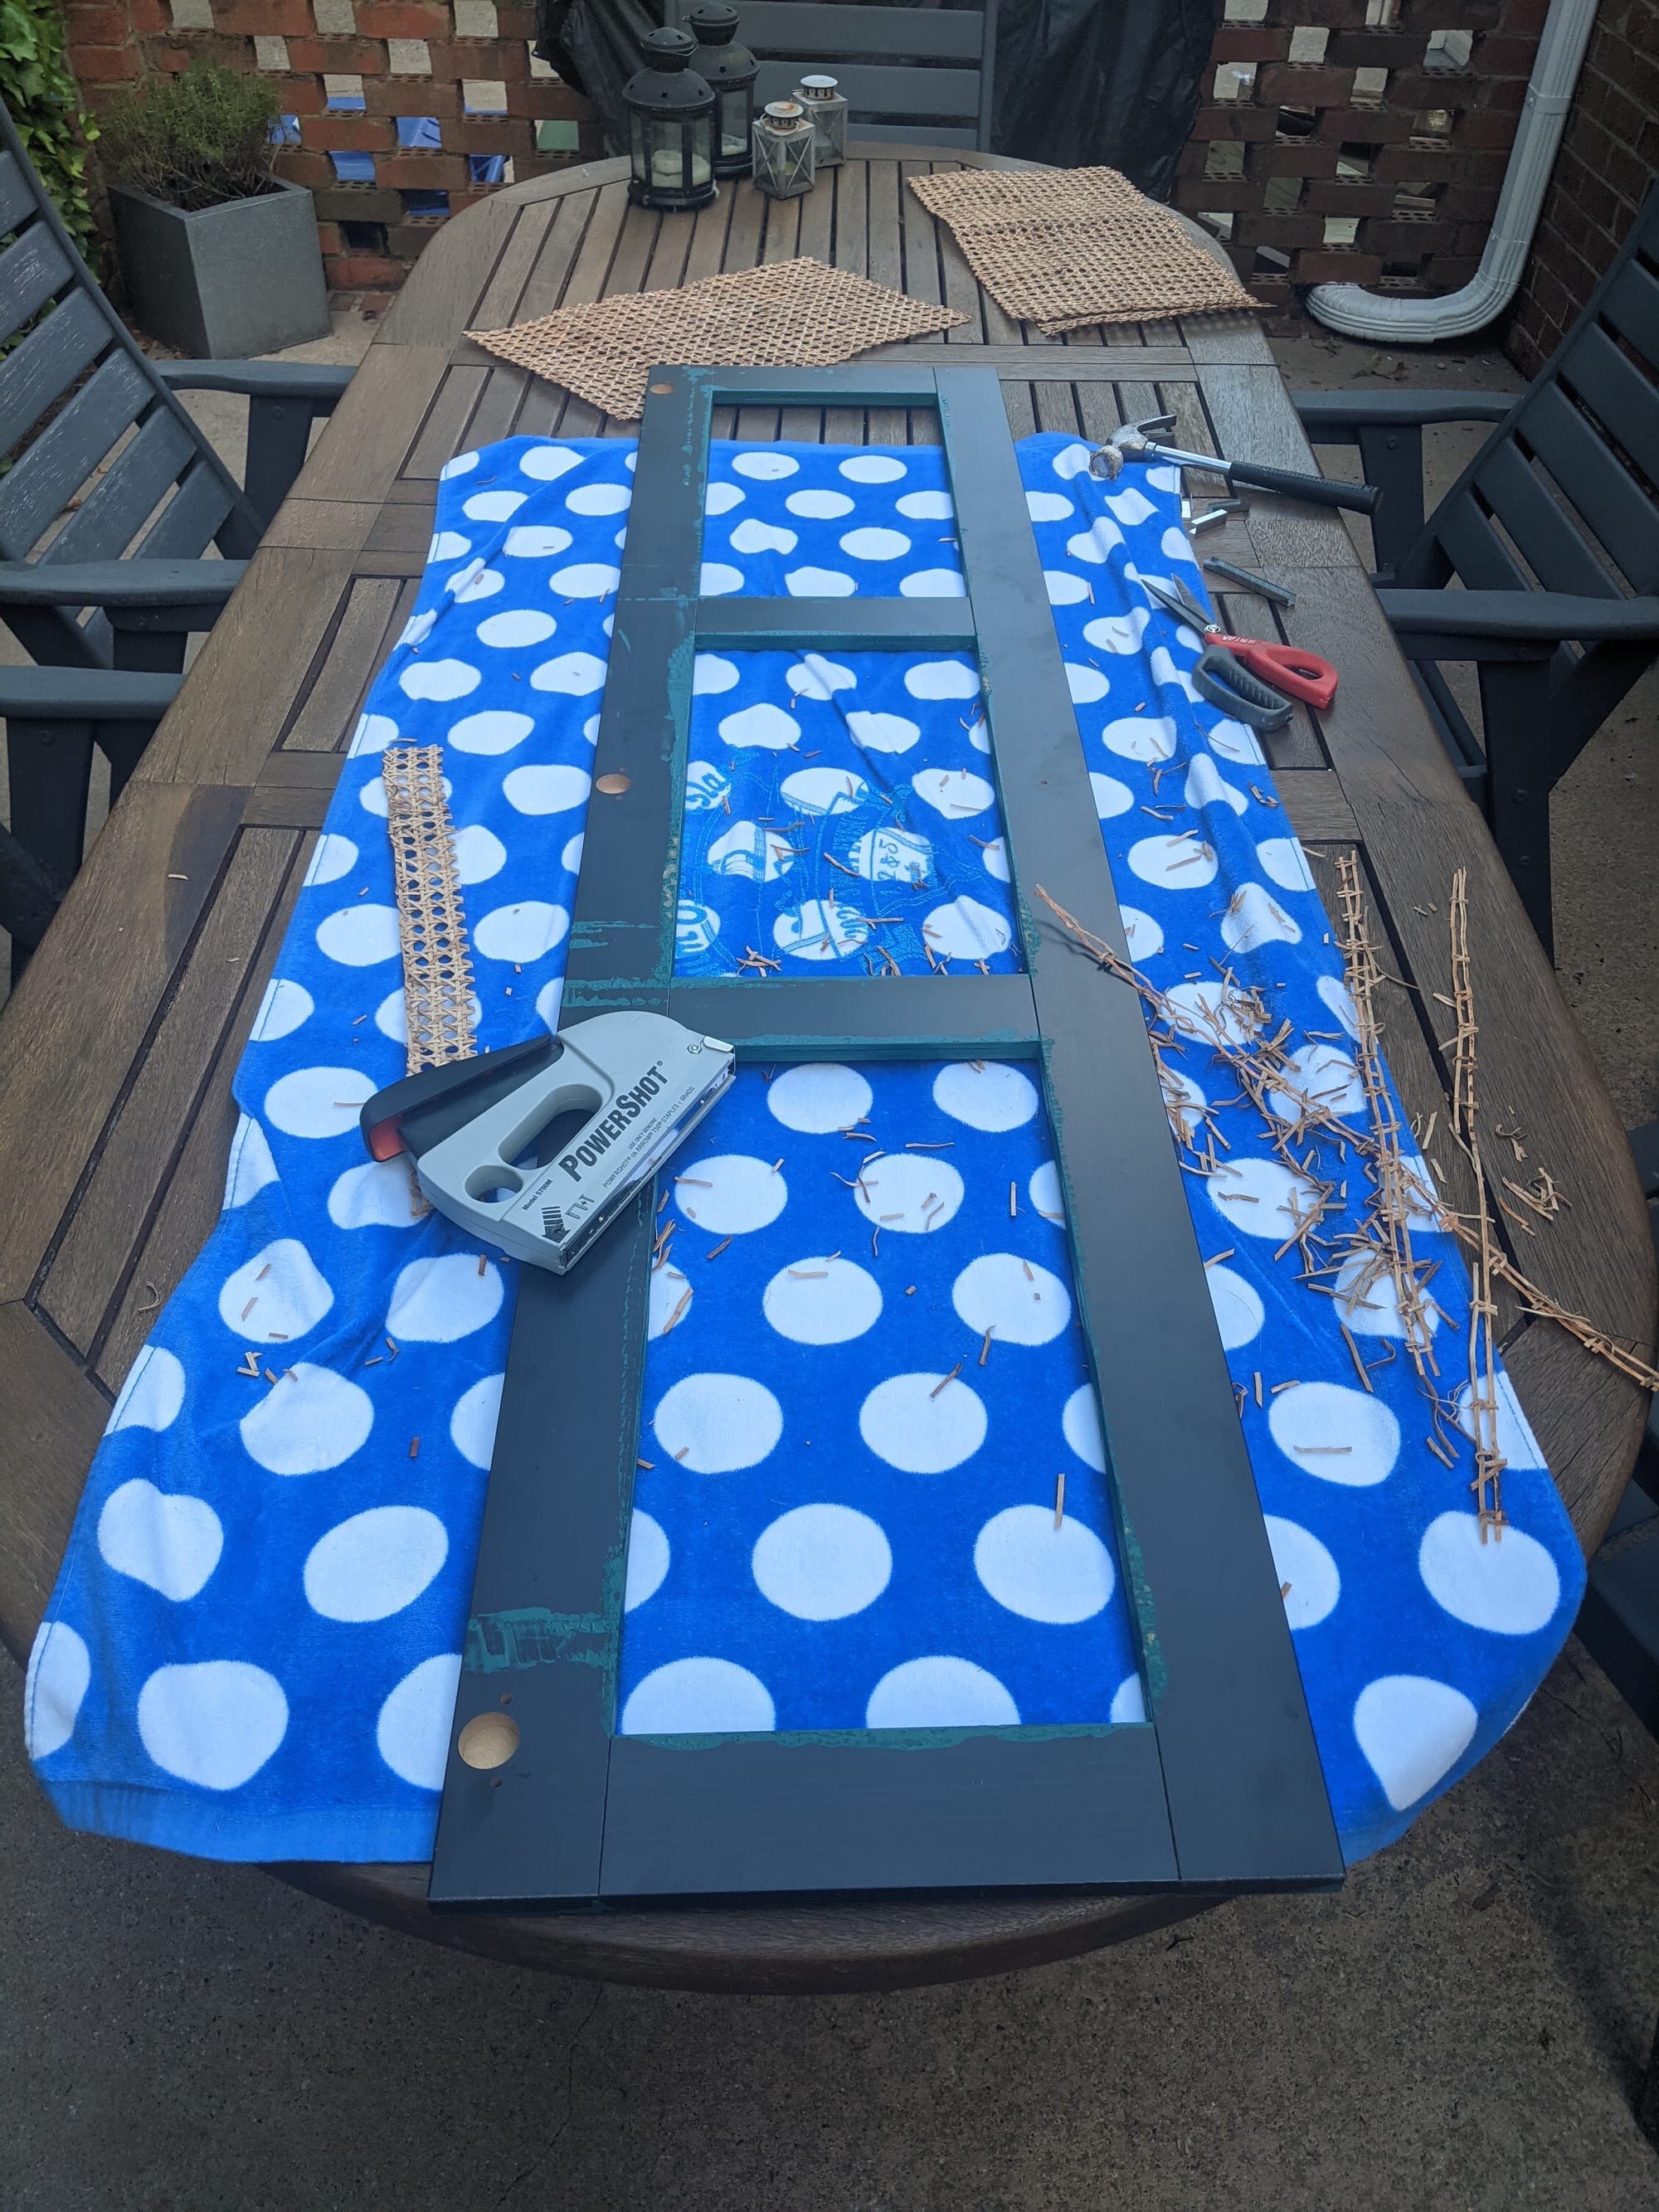
Some people soak the cane to make it easier to work with, which is probably solid advice, but I'm pretty sure I don't remember doing that. I was a little impatient getting this thing transformed.
Finally, I replaced the knobs with these CB2 gold hexagons to finish the piece off.
All in all, this was a 2-day project, and probably took around 3 hours of hands-on time. Not bad!
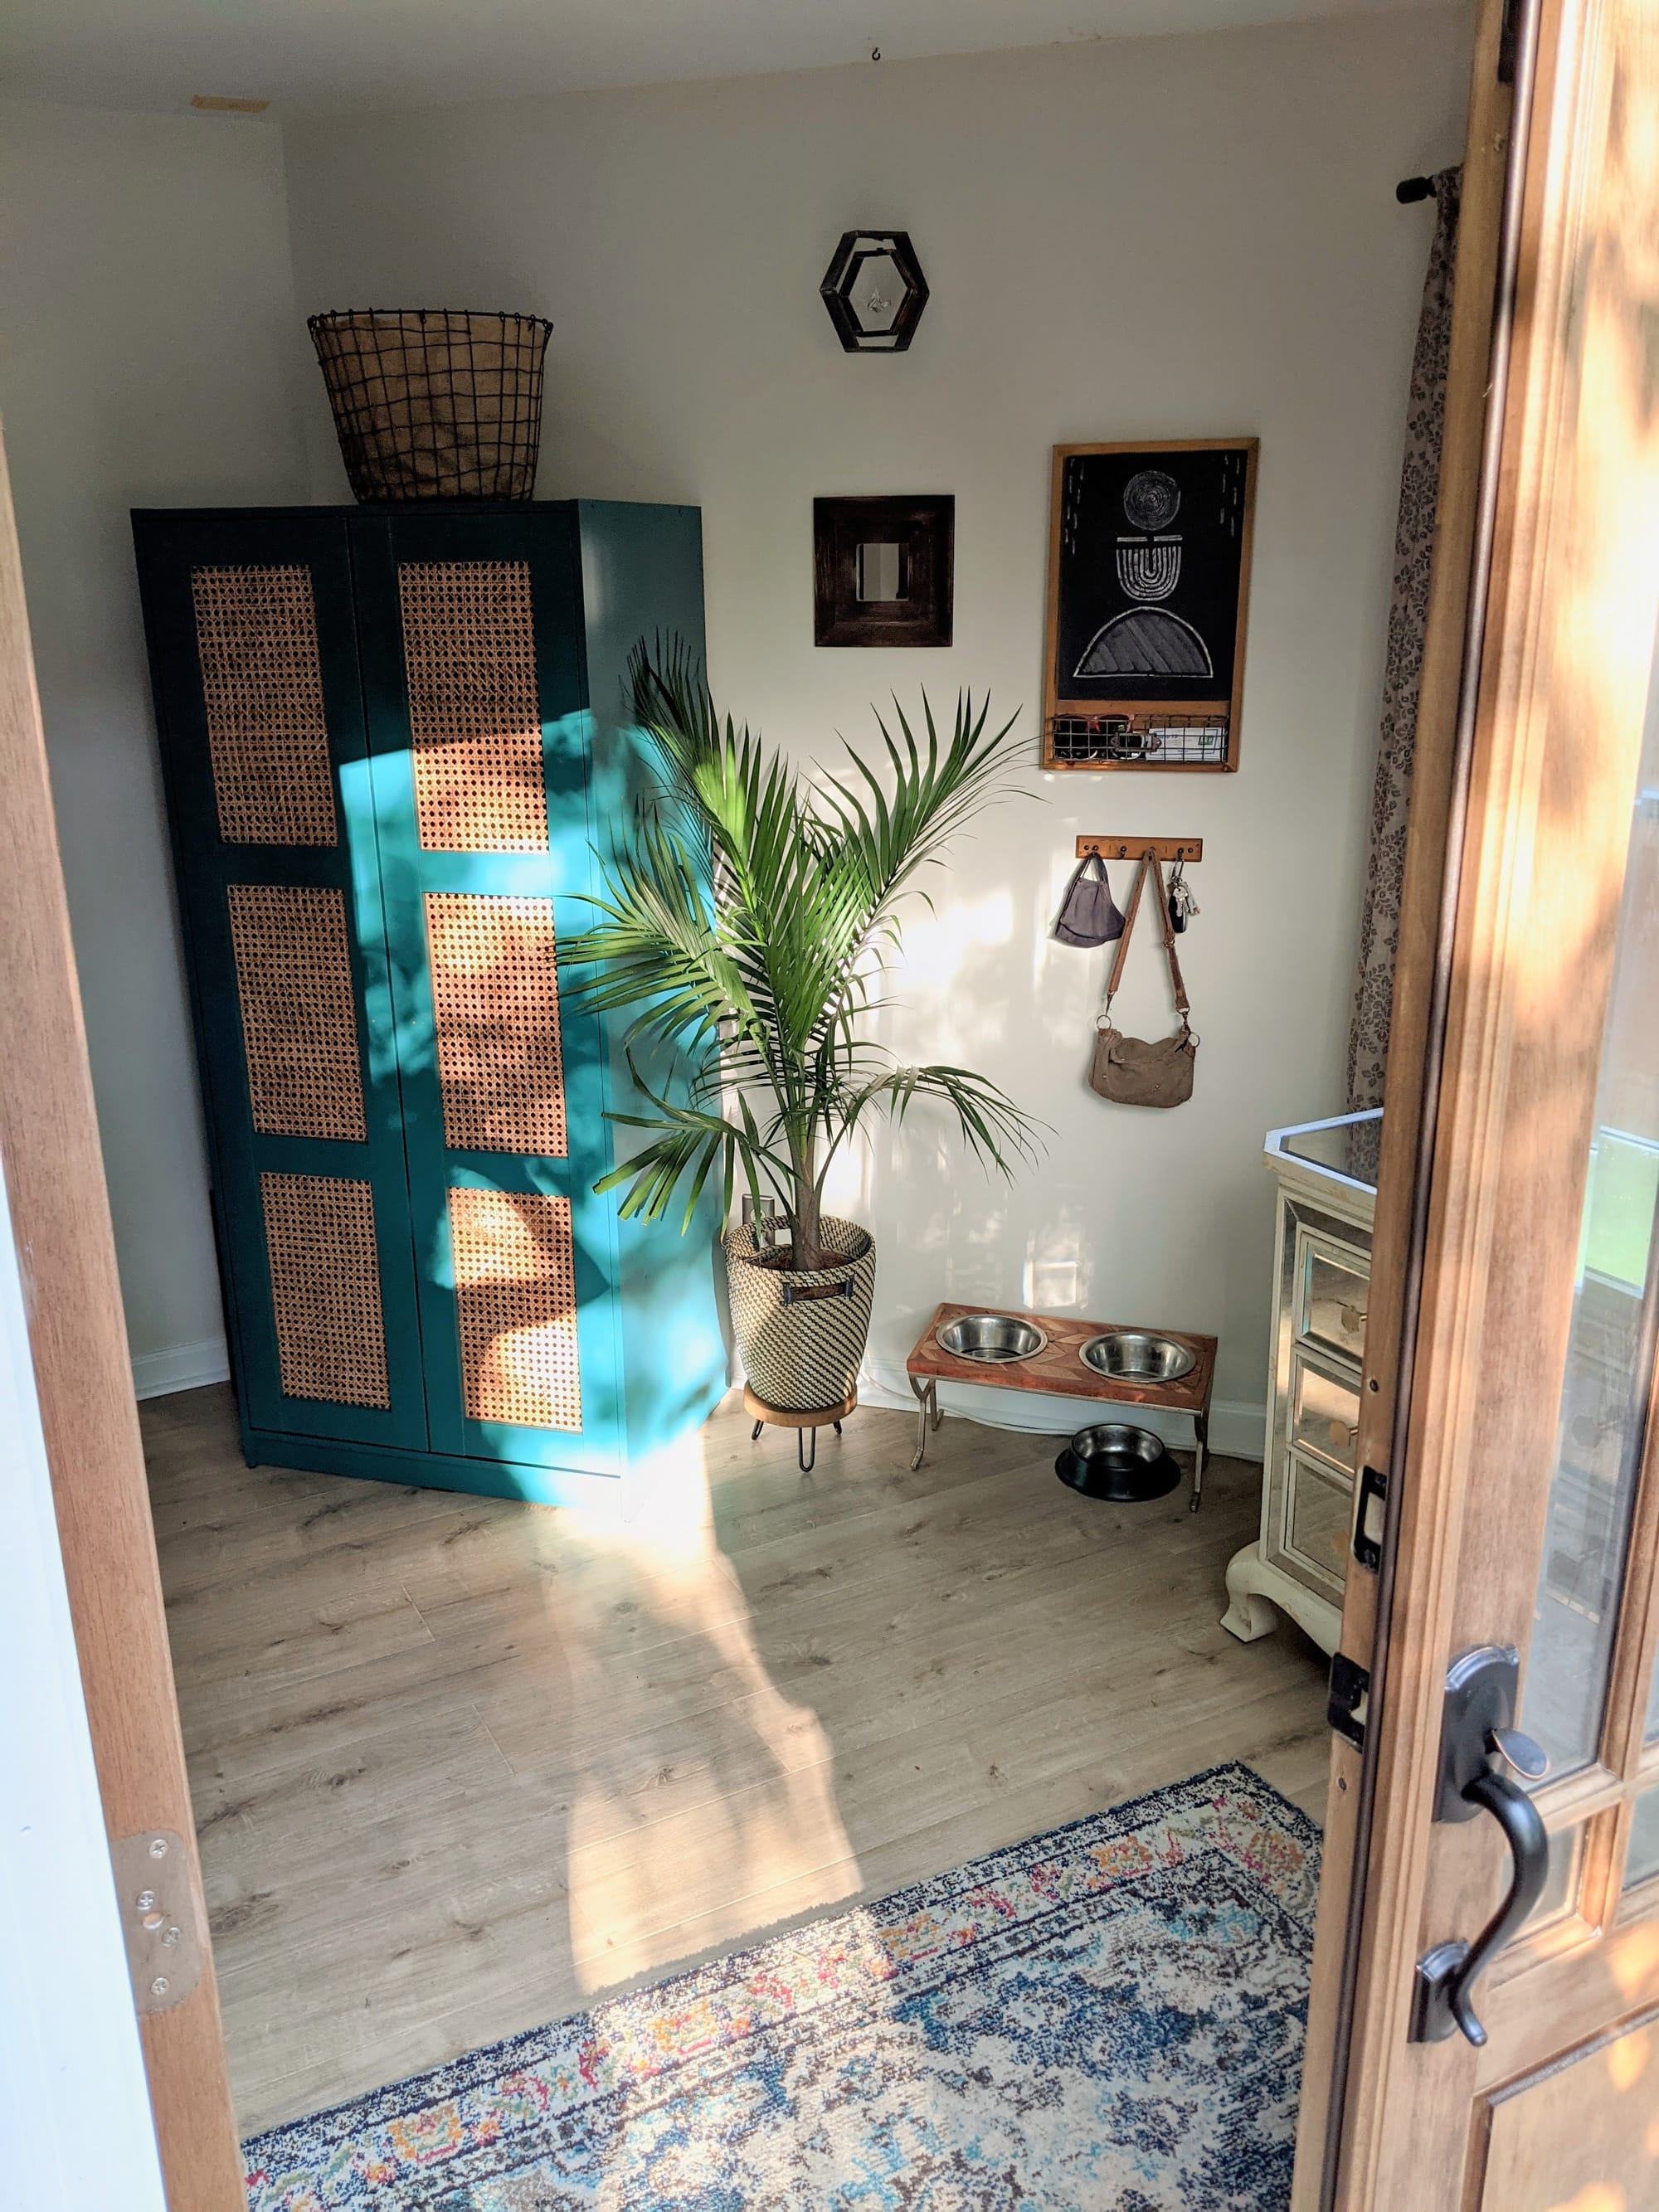
I like how the morning sunlight here made the color really shine through:
Wardrobe cabinet: $150
Paint: $0 (already had)
Knobs: $5 x 2 = $10
Cane: 2 ft x 5 ft roll: $75
TOTAL: $235
(a.k.a. 1/10th the cost of similar Anthropologie pieces)